How to Set Up S/MIME in Outlook
A step-by-step guide to installing a S/MIME certificate and setting up S/MIME in Microsoft Outlook

What is S/MIME?
The Secure/Multipurpose Internet Mail Extensions (S/MIME) is an internet standard that allows the sender of an email to protect the confidentiality of the message by encrypting its content with the public key contained in the recipient's S/MIME certificate.
Outlook on the recipient's computer can then decrypt the message with the private key installed on their device. S/MIME is supported natively by Microsoft Windows and Outlook.
S/MIME allows end-to-end encryption: the sender encrypts the email in a way that it can only be decrypted in the recipient's inbox, ensuring only the intended person can read it.
The sender of a message usually also signs it with their own S/MIME certificate (private key), which allows the recipient to authenticate the sender.
Get a S/MIME Certificate
You can buy a S/MIME certificate from a Certificate Authority (CA) or through a retailer, or get one free of charge from Actalis, an Italian CA.
Certificate authorities provide S/MIME certificate bundles either as a PKCS #12 file (.p12 or .pfx) if they generated the certificate for you or as a PKCS #7 (.p7b) file if you created the private key on your own computer and submitted a Certificate Signing Request (CSR) to the CA.
Install the S/MIME Certificate in Outlook
The instructions provided here were tested with Microsoft Outlook on Windows 10 in March 2021. If you find that they don't work with later versions of Outlook, please let us know.
Download and unzip the certificate bundle if needed.
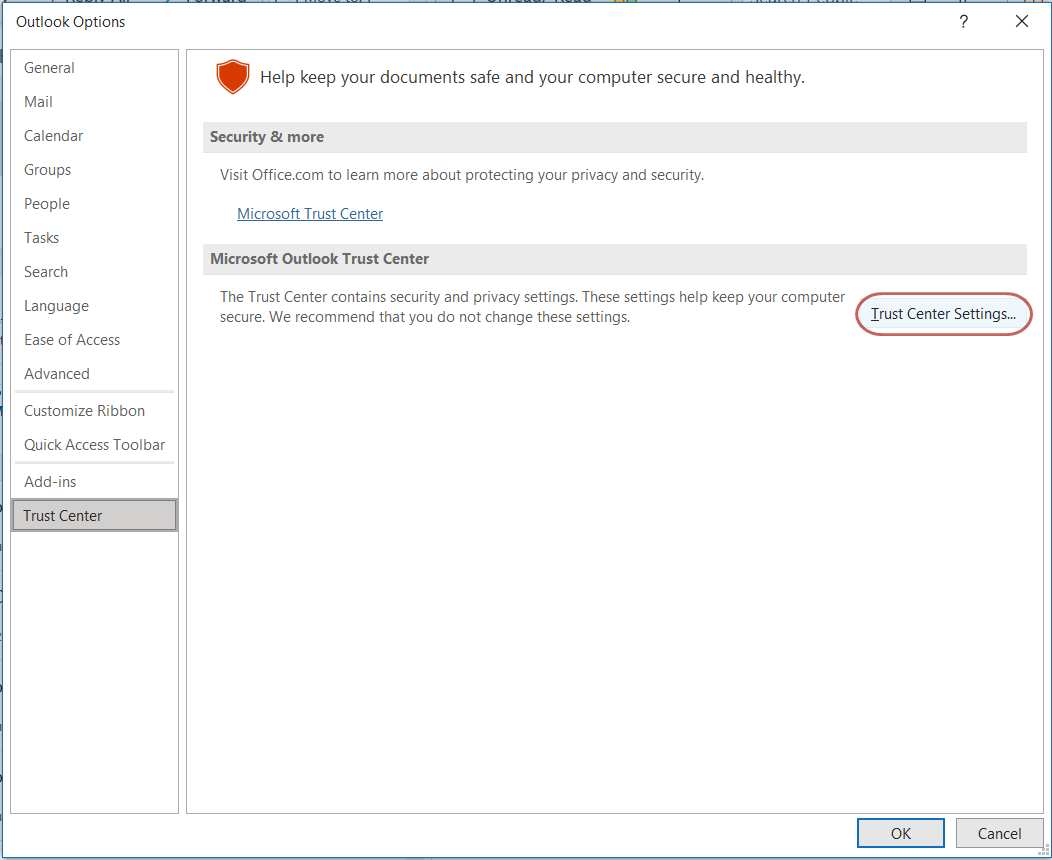
Launch Outlook and select File > Options in the main menu.

Select Trust Center > Trust Center Settings...
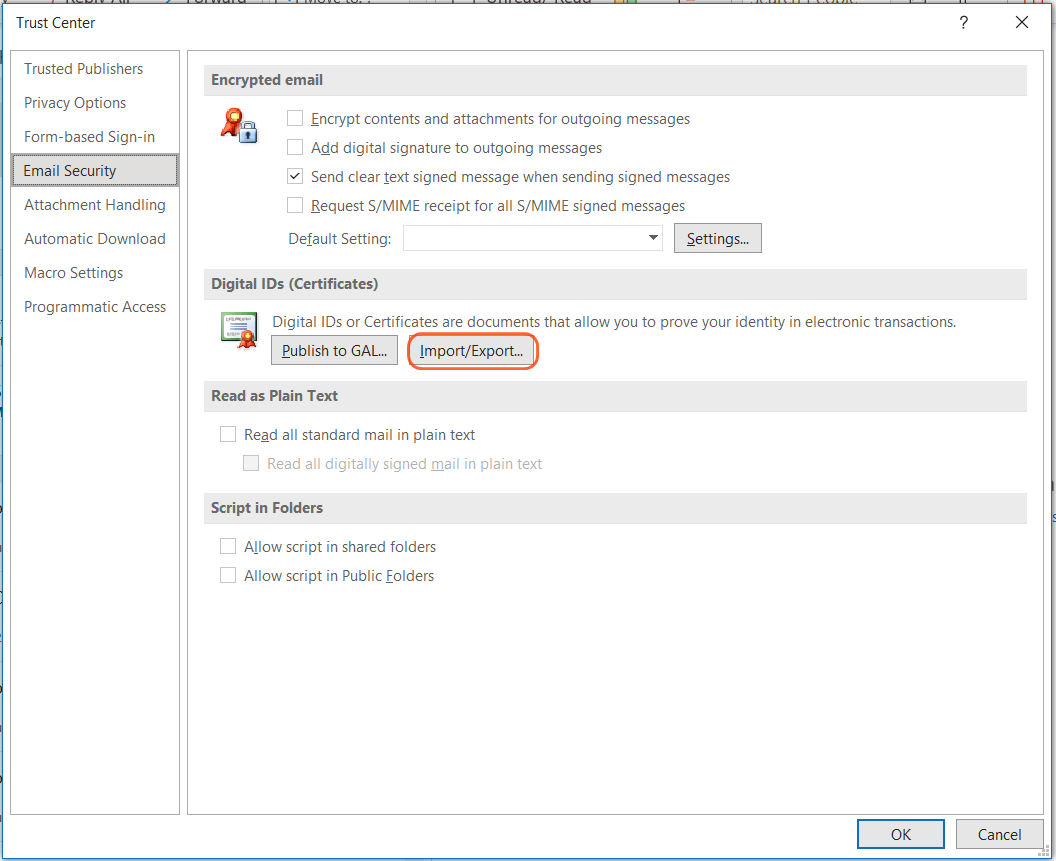
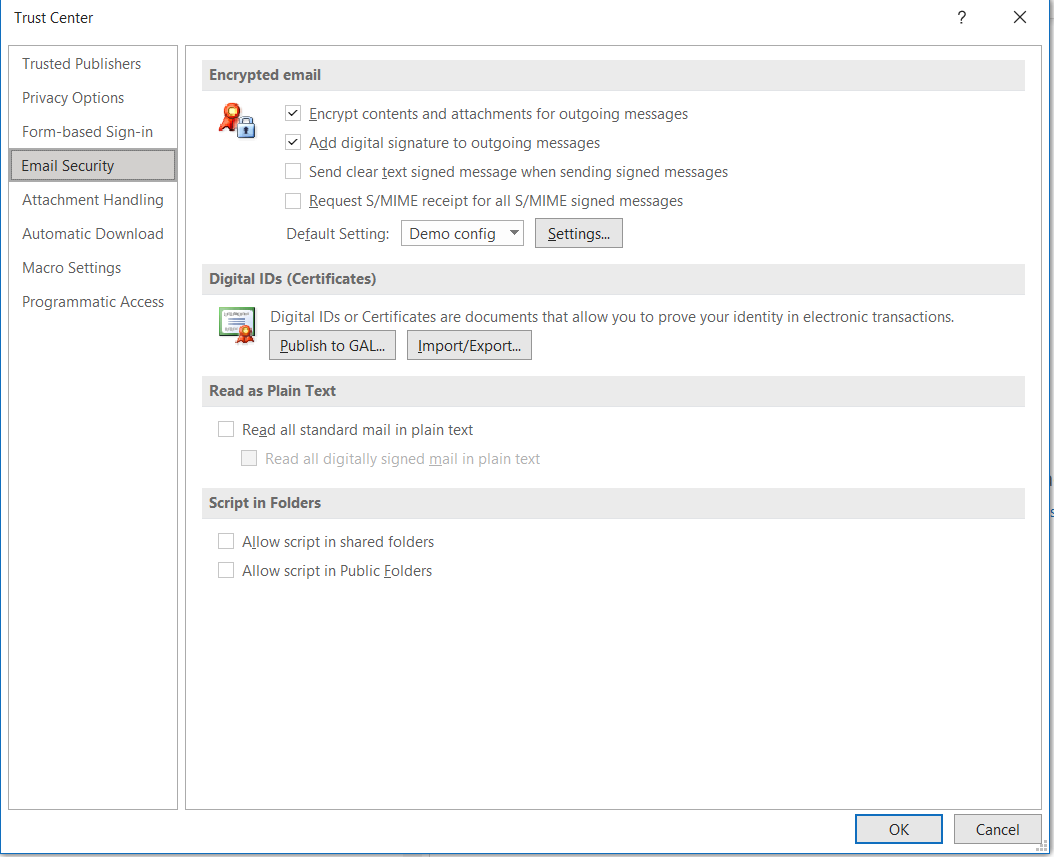
Select Email Security and click the Import/Export button to import the S/MIME certificate.
Browse to the S/MIME certificate file location in your computer.
Note that the S/MIME certificate bundle is also referred to in Outlook as a Digital ID or Security Profile.
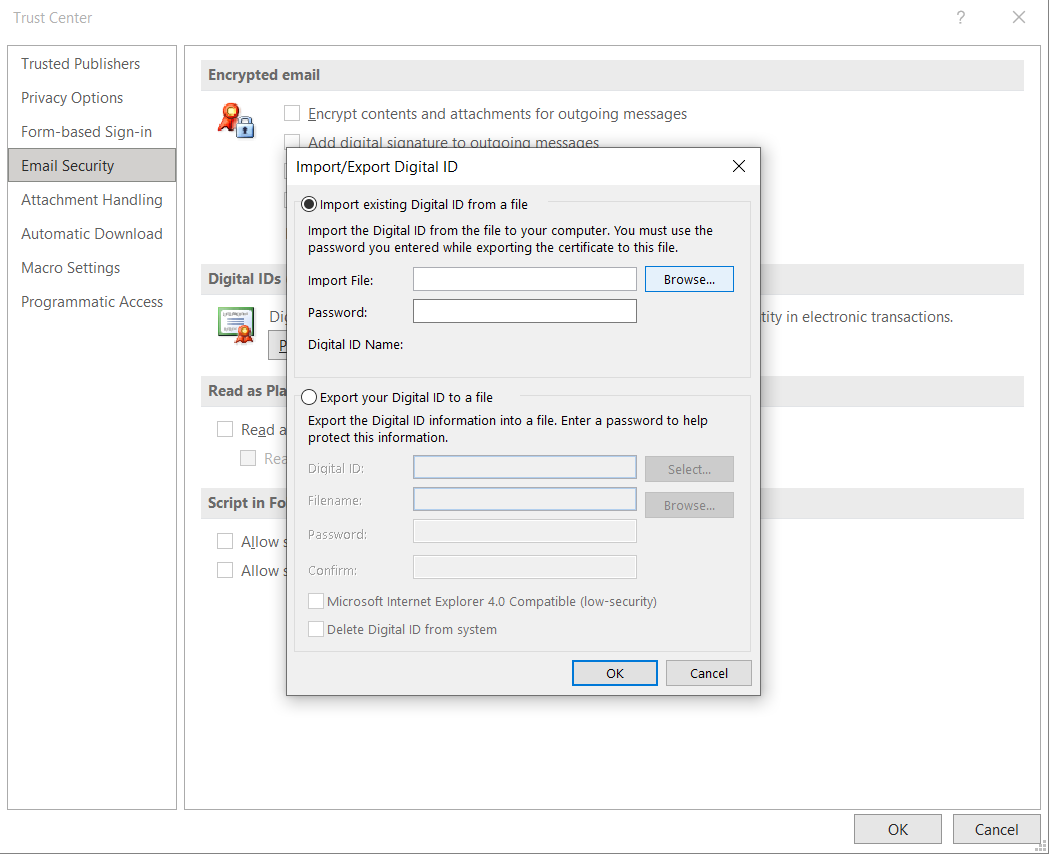
Locate the Security Profile (i.e. S/MIME certificate) to import to Outlook.

Enter the password associated with the S/MIME certificate (a.k.a Digital ID or Secure Profile). If you obtained the certificate as a .p12 or .pfx file from a certificate authority, they must have also given you the password.
The certificate's private key was encrypted with the password, so if you lost it, you won't be able to import the certificate into Outlook.

Unless you need enhanced security, leave the security level set to Medium and tap OK on the pop-up dialog box.

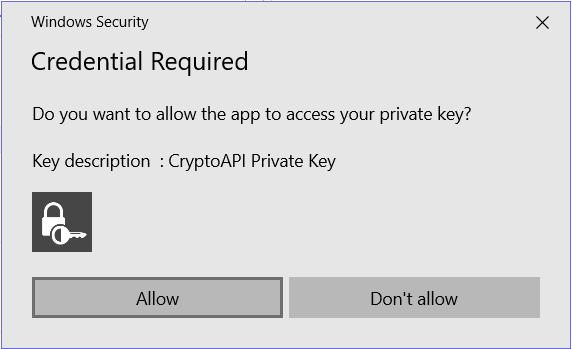
Allow protected access to your S/MIME certificate's private key.

Turn On S/MIME Signing and Encryption
We're now going to set up Outlook to digitally sign outgoing mail with the new S/MIME identity. This will allow our email contacts with a S/MIME-compatible email software to:
- Authenticate messages we send them
- Automatically import our public key so they can use it in the future to send us encrypted emails.
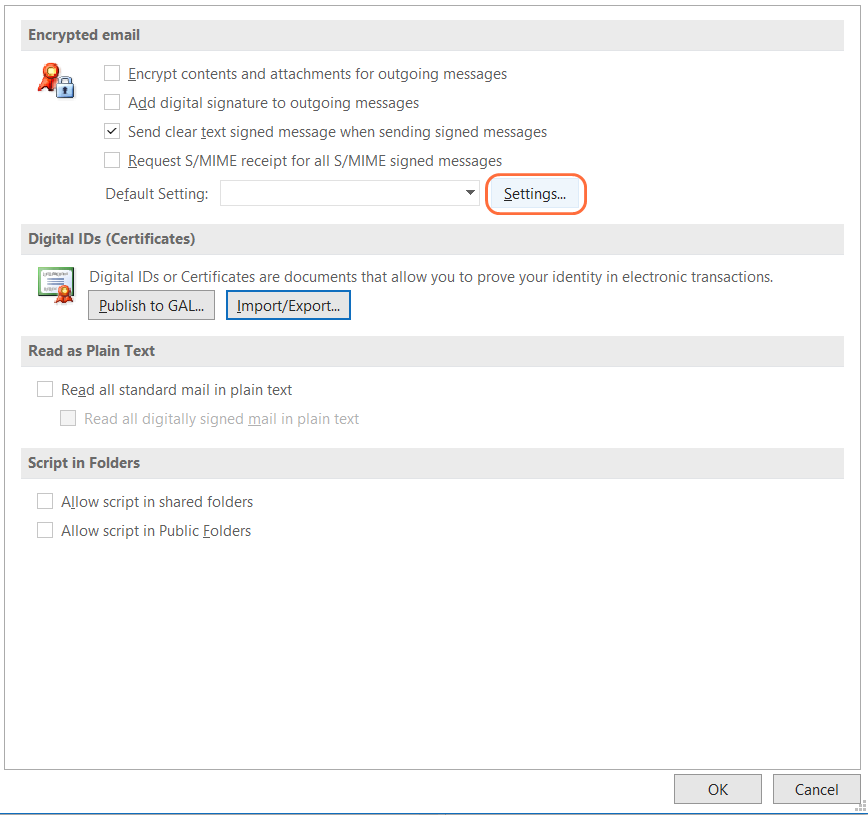
Click the Settings button, under Encrypted email.
Name your security settings and make sure Cryptography format is set to S/MIME.
Check Default Security Settings for this cryptographic format
Check Security Settings for all cryptographic messages
Signing Certificate
Click Choose… to browse to the S/MIME certificate file and and click OK to confirm.
Encryption Certificate
Click Choose… to browse to the S/MIME certificate file and confirm.
Finally, check Send these certificates with signed messages

Encrypted Email Settings
Go back to the Email Security tab and set the default options for S/MIME email as below.
Check Encrypt contents and attachments for outgoing messages
Check Add digital signature to outgoing messages
You should now be able to send emails digitally signed with your S/MIME identity and receive encrypted emails.
Outlook should automatically import the S/MIME public key of anyone who sends you a signed email, so you should also be able to send encrypted messages to anyone who has sent you a signed message before.
Activate Encrypted Email on FormSmarts
You now need to add your S/MIME certificate to FormSmarts so you can get form submissions by encrypted email.
Create a new new digitally signed message in Outlook and send it to the long email address returned when you submit a Certificate Addition Request request.
Certificate Addition Request
Sign in to FormSmarts and create a Certificate Addition Request (Step #4 in the set up instructions) as illustrated below.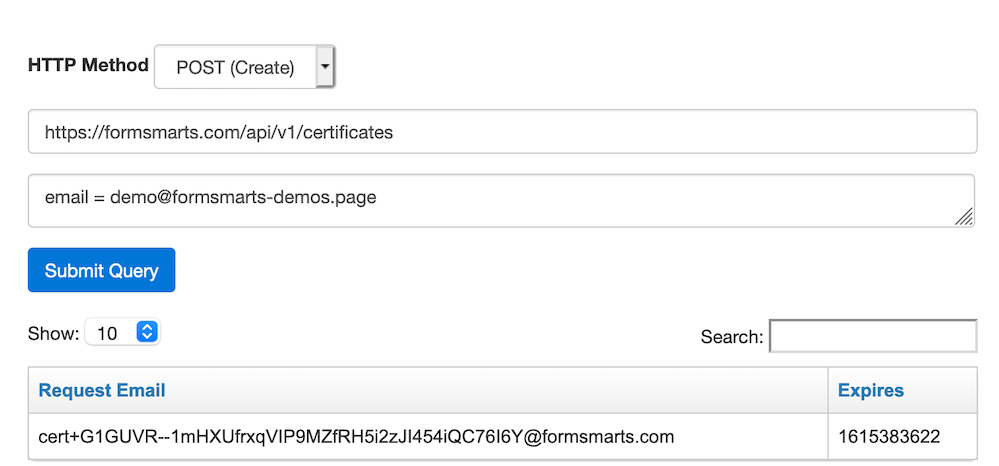
Draft a new mail message and toggle on Sign under Options.
Allow Outlook to use your private key to sign the message.
Copy the Request Email, paste it into the To field and send.
You should receive an email notification within seconds confirming FormSmarts imported your S/MIME certificate successfully.